I saw a post on X by Jack Hollingsworth about the RAW sensor in the iPhone, and it was suggested by a friend, Norman Savigar, to post it in the iPhoneography Podcast’s Facebook Group. It turned into something longer than a casual group post, so it now lives on my website.
Jack was talking about what photographers mean when they mention the 48MP Bayer RAW sensor in the iPhone. I’ll reiterate Jack’s points and add any information that I think might be useful.
To begin with, we’re talking about a 48MP sensor. This means that the sensor has 48 million pixels (48,771,072 to be exact), which is more than many traditional DSLR or mirrorless cameras on the market. The difference between the iPhone and the other types of cameras is that the iPhone’s sensor is much smaller and is prone to showing more noise in the image, but Apple mitigates this limitation through a technology known as “pixel binning”. This process involves grouping the pixels into clusters of four, effectively making the pixels four times larger. This is why many of the photos we take are 12MP. Apple also applies their image processing pipeline to eliminate noise, add sharpening, and achieve a wide dynamic range.
We can still achieve 48MP shots, which offer a great deal of detail, but they will be saved as JPEG or HEIF. Additionally, you can shoot a DNG file at 48MP with Apple ProRAW. This is the RAW file format released with iOS 14.3 in December 2020, available beginning on the iPhone 12 Pro. ProRAW was co-designed by Apple and Adobe and is based on Adobe’s DNG format, which is essentially a generic RAW file format. The advantage of shooting in ProRAW is that you have a RAW file with the imaging pipeline applied to it, which was marketed to be a “head start” in the editing process of the RAW workflow.
Bayer RAW capture became available with iOS 10 on the iPhone 6s in 2016. However, the Apple Camera app was not able to support it at the time. Adobe’s Lightroom Mobile was the first app to enable Bayer RAW capture, followed soon after by ProCamera, Manual, and Obscura. The widely popular Halide app followed suit in 2017. This was the same month, July 2016, that I made the decision to transition from using Canon equipment to exclusively using iPhones for photography. I recognized the potential of the iPhone’s camera when Apple introduced RAW capability.
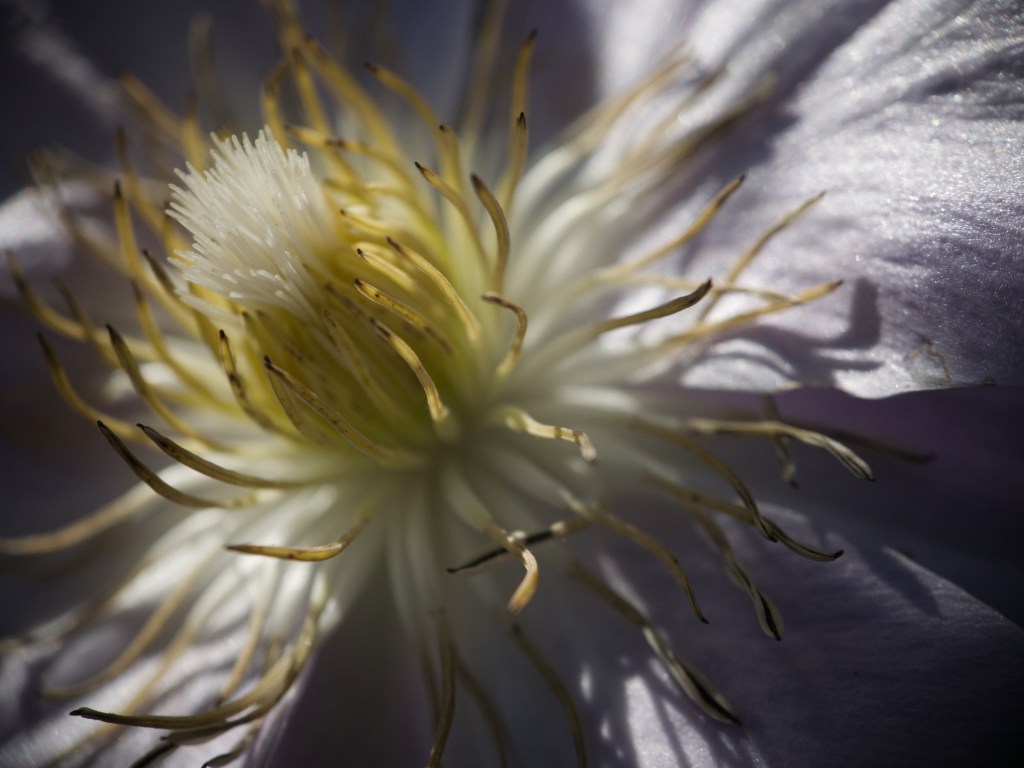
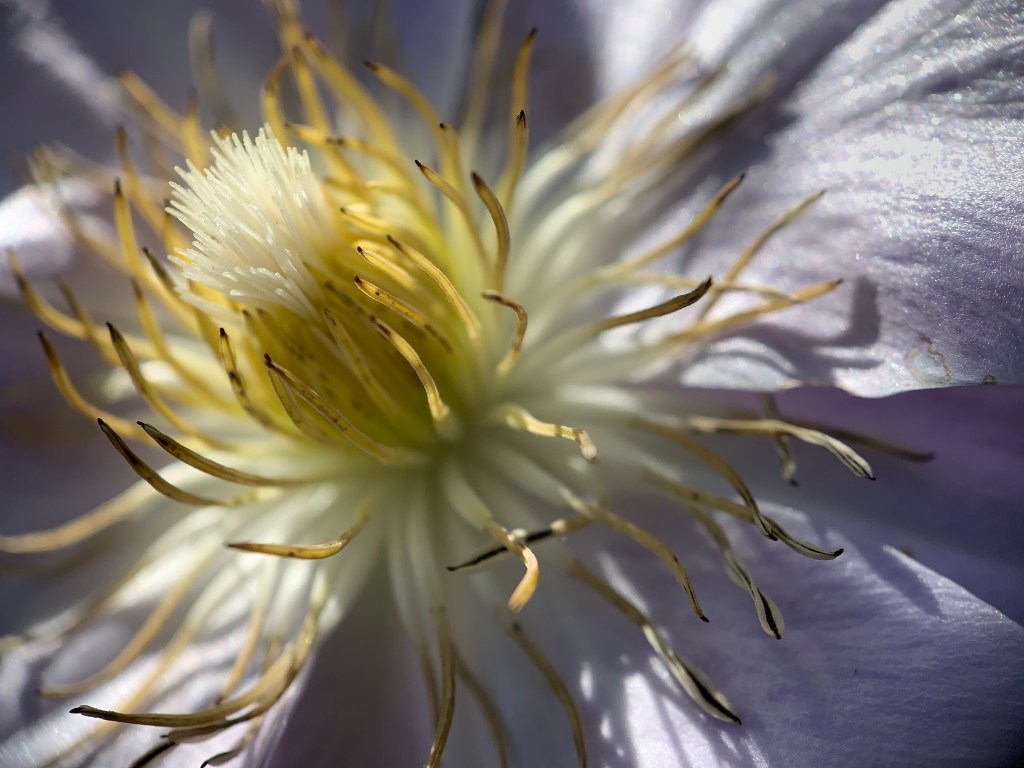
The short explanation of Bayer RAW is that it’s unprocessed image data captured on the camera’s sensor that uses a Bayer filter array. This filter arranges red, green, and blue colour filters in a pattern over the sensor’s pixels, allowing it to record one colour per pixel. Since the sensor itself doesn’t “see” full colours, the RAW data requires demosaicing to reconstruct a full-colour image. Bayer RAW preserves maximum detail and dynamic range, making it ideal for advanced editing and post-processing.
So, what format should you go with? I always recommend shooting in HEIF for everyday stuff, only because it can save you a lot of space on your iPhone. The caveat here is that HEIF files are not as widely accepted as JPGs when sharing them on social media or when sending them to people who use non-Apple devices. JPG is certainly a good option to go with. And before we start asking what the difference is between JPG and HEIF, well, that’s a whole different post. In fact, you can read up on it at photography life’s website.
I think the better question for those interested in trying RAW capture is about when to shoot RAW. This seemingly advanced file format won’t be for everyone because it needs to be processed before you can do anything with it, but if you were to use it, you would find your images to be sharper with more detail. There is the issue of noise in Bayer RAW images, but most editing software includes some form of noise reduction or denoise options. And if you are serious about your iPhone photography, or wish to take a photographic approach to it, using a manual camera app can give you much better control over the capture process.
Since Bayer RAW capture was made available on the iPhone, a great deal of third-party camera apps have become available. Each has its own design and feature set, and if you’ve read any of my posts or listened to my podcast, you’d know my go-to app is Reeflex. It’s not bloated with too many options and it’s simple to use.
Dipping your toes into the RAW workflow on the iPhone can be a learning curve, that’s for sure. Since doing so, I find it to be very rewarding. I used to do it quite often, but the introduction of ProRAW got me away from shooting Bayer RAW. Thanks to my friend and co-host on the podcast, Dwight Broeman, I’m shooting Bayer RAW a lot more again and loving it. I’m definitely still learning about how to edit my images, and it can be as easy or as complicated as I wish to make it. And thanks to Dwight and some very talented photographers on YouTube, my editing is improving too.
